Hello,
So I’m going to show you, how you can make your custom skin for the Magicraft, it’s easy and if you have have some graphic program (Photoshop, Gimp, etc. …) you can get it done pretty fast.
Start by going to your WordPress folder and then go to ~/wp-includes/wp-content/themes/magicraft/library/skins.
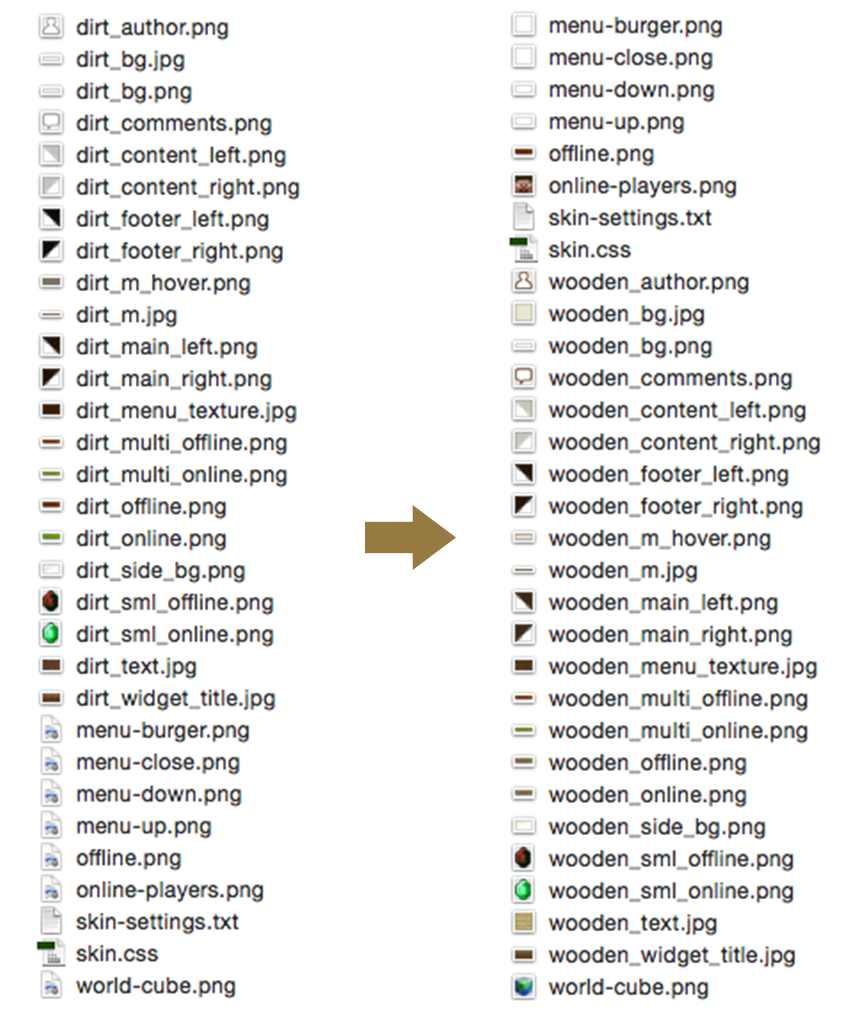
It’s a good start to simply copy some skin and edit it. So here I copied a dirt skin and changed its name to wooden, so everywhere where is a “dirt”, replace it with “your-skin-name” (for me it was wooden).
Now open skin-settings.txt in a simple text editor (I use Sublime Text Editor, since it’s great also for websites, but you can use Wordpad etc.). Here you have to be very careful, since every empty line matters.
And again just change every “dirt” to “your-custom-name” (wooden for me), it’s important that skin name is without spaces (use “-“ or “_”, etc.. ).

OK, now we are all set and if you look in your WordPress site you can see your new skin in skin options! But, yeah… it still looks like the skin you copied so lets change it.
As you can see there is a lot images there and everyone changes something, I’ve made a map where you can find which part of website they change.
So your process will probably look like:
- Find which part you want to change
- Open that image in Graphic editor.
- Change it, save it & see how it looks like.
- Return to point 1. till your skin looks as you want it.

If you have some problem and something is not showing, try to double check it and then write in comments and I’ll help.
I hope that this will enable you to make some great skins & I would love to see them.
You can also download Wooden skin and use it.
Have fun & Good luck.
